-
Log in to CR2 application.
-
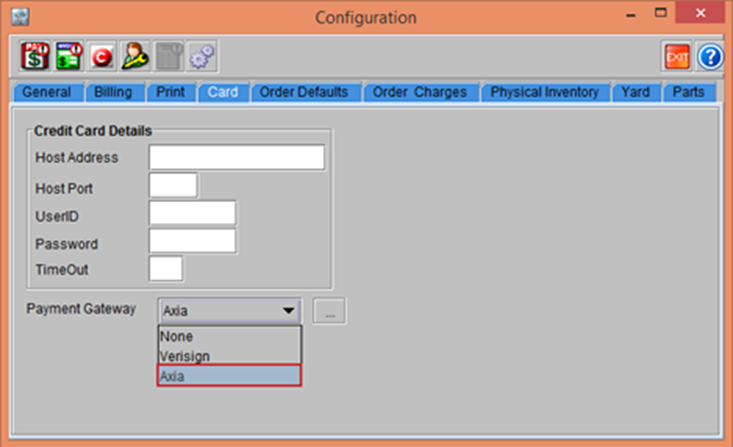
Select the Configuration module > Card tab > Payment Gateway drop-down box.
-
Select the Payment Gateway as Axia as shown in the Figure 3.0.
Figure 2.0 Payment Gateway in Configuration module
-
Click the More button next to the Payment Gateway drop-down, as shown in Figure 2.1.
Note: The More button is enabled only when the Payment Gateway drop-down is option is selected.
-
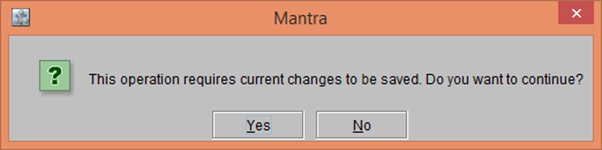
The system displays a prompt with the message along with Yes and No buttons, as shown in the figure below
Figure 2.1 Prompt with the message displayed
-
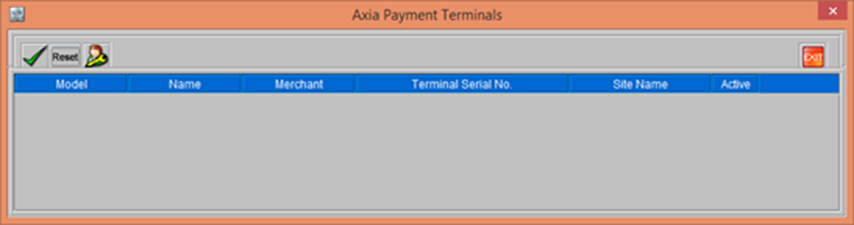
Click Yes. The Axia Payment Terminals window is displayed, as shown in figure below.
Figure 2.2 Axia Payment Terminals window
-
The Table 1.0 describes the Components and Actions that can be performed in the Axia Payment Terminals window along with the Column details.
Table 1.0 Column Reference Table
|
Component |
Description |
|
OK |
Clicking the OK icon will allow you to save the Information. |
|
Rest Terminal Info |
Clicking the Reset Terminal Info icon will allow you to reset the Terminal Information. |
|
Set API Info |
Clicking the Set API Info icon will allow you to set the API Information. |
|
Column Details |
|
|
Component |
Description |
|
Model |
Displays the number of the Axia device. |
|
Name |
Displays the Model Name of the Axia device. |
|
Merchant |
Displays the Merchant Number of the Axia device. |
|
Terminal Serial No. |
Displays the Terminal Serial Number of the Card swiping machine. |
|
Site Name |
The Site Name column, allows you to select a Site. Only one Site can be selected for a device. The Devices are visible while making the payments only when a Site is set. |
-
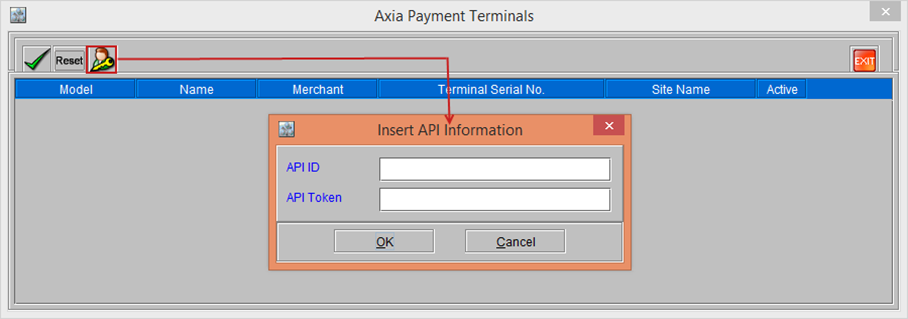
Click the Set API Info button. The Insert API Information window is displayed, as shown in following figure.
Figure 2.3 Insert API Information window
-
In the Insert API Information window, enter the API ID and API Token that is provided by the Axia Payment Gateway in the respective fields and click OK.
-
The Card Swiping Terminals registered to the entered API Information is listed, as shown in following figure.
Figure 2.4 Axia Payment Terminals listed
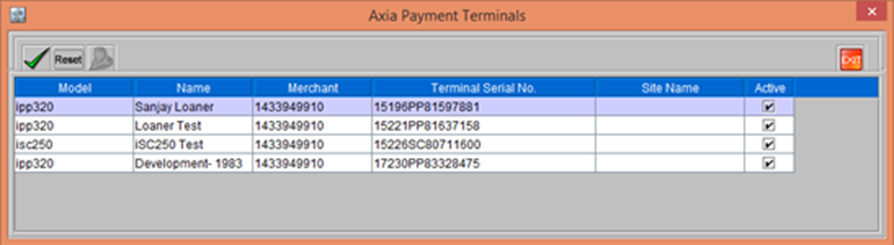
Note:
By default, the Site Name column is displayed blank for the Terminals listed. To make the Terminals visible to a particular Site only, tag the required site. Otherwise, the terminal will not be visible in Payments screens.
-
Click OK and Exit the Axia Payment Terminals window.
-
Save and exit the Configuration module. Relaunch the CR2 application.