Reference No: 25466
(V 02.00.16-00)
Details
The statuses of Not-Available Items/Parts on various Orders (Rental Reservation, Sales Order, Work Order, and Part Sales) get automatically updated to Sold/Out when the Items/Parts are received from the Purchase Order window.
Configuration Settings
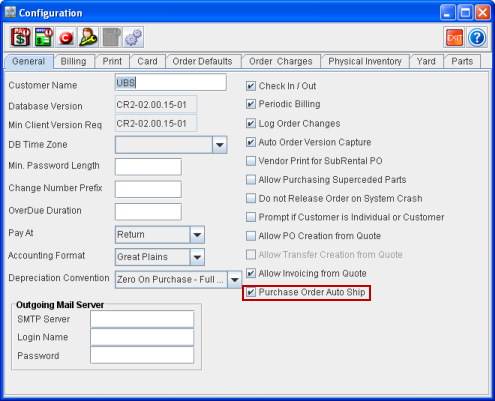
The statuses of Item/Part get automatically updated only if the Purchase Order Auto Ship check box in Configuration > General tab is selected, as shown in Figure 1.0.
Figure 1.0 Purchase Order Auto Ship Check Box Selected in Configuration
Sample Workflow
-
Select the Purchase Order Auto Ship check box in Configuration module > General tab.
-
Create a Sale Order [Order#1] from the Account module.
-
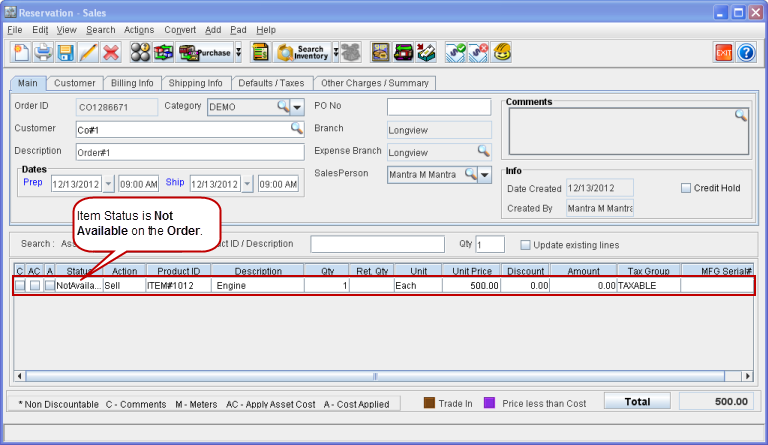
Add an Item, (for example Item#1) which is not in stock. The Item line status is shown as Not Available, as shown in Figure 2.0.
Figure 2.0 Not Available Item on Order
-
Right-click on the item line and select the option Assign. The Assign dialog box is displayed.
-
Select the Transfer In/Purchase option and click OK. Assign window is displayed.
-
Select the Purchase/Sub Rent tab in the Assign window and click on the New icon. A new line is added with Auto Ship check box selected by default from Configuration, as shown in Figure 2.1.
Figure 2.1 Auto Ship Option in Assign Window
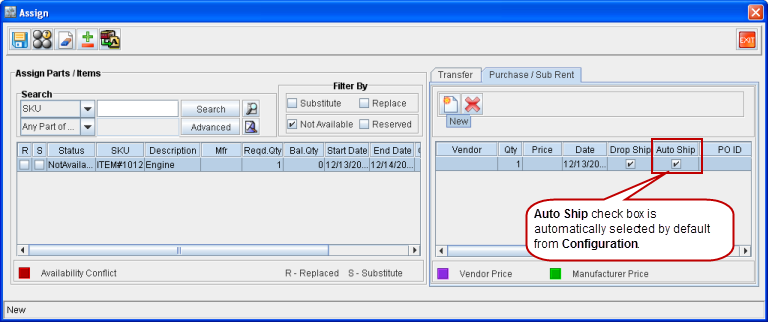
Note: The Auto Ship column is newly added to the Assign Window > Purchase/Sub Rent tab.
-
Tag a Vendor, save and exit the Assign window. A new Purchase Order [P-Order#1] is created.
-
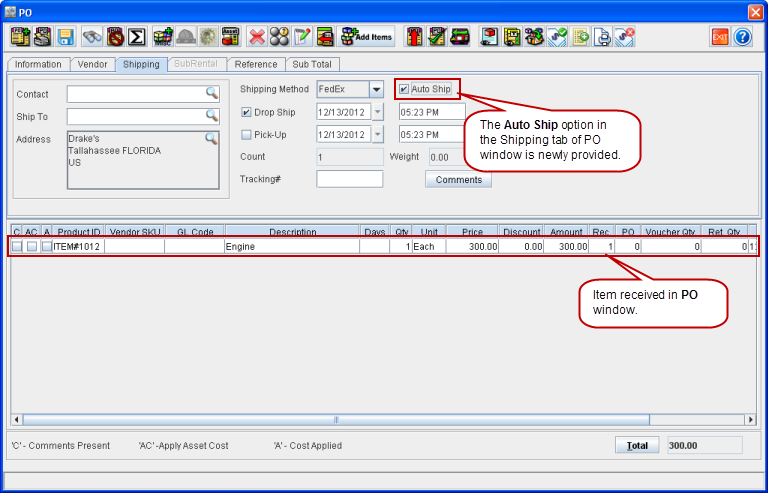
Open the Purchase Order [P-Order#1] and receive the Item [Item#1]. The item gets received, as shown in Figure 2.2.
Figure 2.2 Item Received in PO Window
-
Verify the Status of Item#1 in the Order. The status is automatically updated to Sold, as shown in Figure 2.3.
Figure 2.3 Item Status Automatically Updated to Sold in Order Window
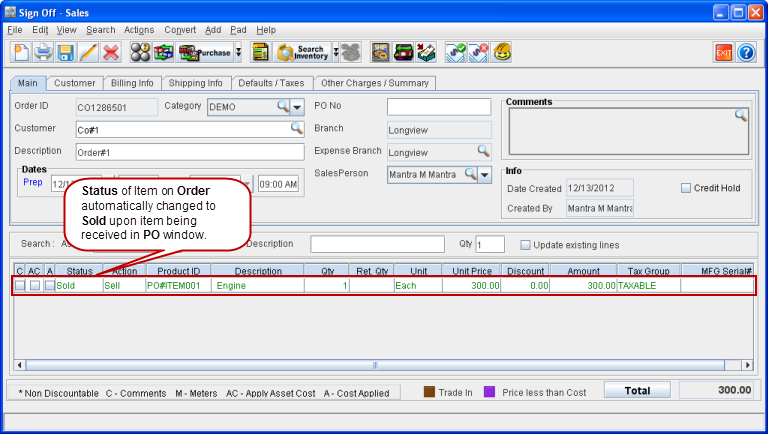
Note: The Auto Ship check box can also be manually selected or cleared from the Assign window or from the Purchase Order window.