
Order Entry Basics
An CR2 order can have many statuses, including: Quote, Hold, and Reservation. This guide will cover the creation of a Quote and/or a Reservation. The basic order process will include a few steps that will become the basis for every order you create. These steps include:
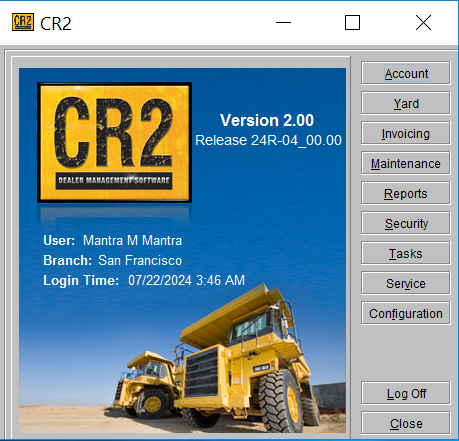
To get started, click on the ACCOUNT button from the Launch Pad:
Selecting a Customer
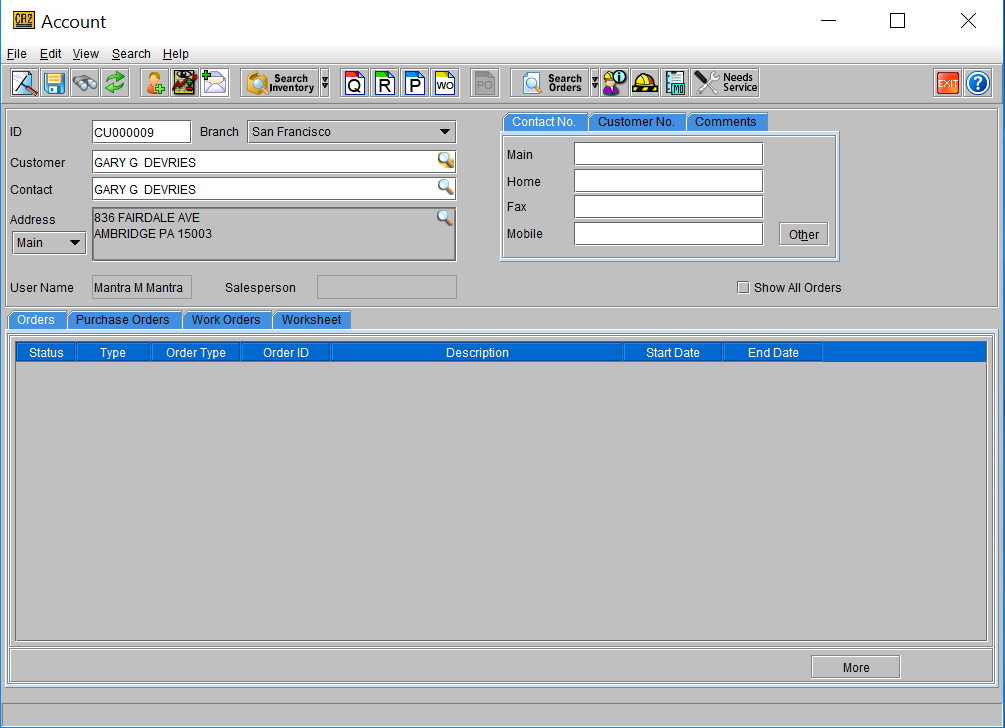
To search for a customer, simply type the first part of that customer’s name in the “Customer” field and press the Enter key. If a unique match is found, the customer information will appear, as in the example below:
If a unique match is not found, you’ll be brought to the Company/Contact Search screen (this can also be accessed directly from the Account screen by clicking on Search Company).
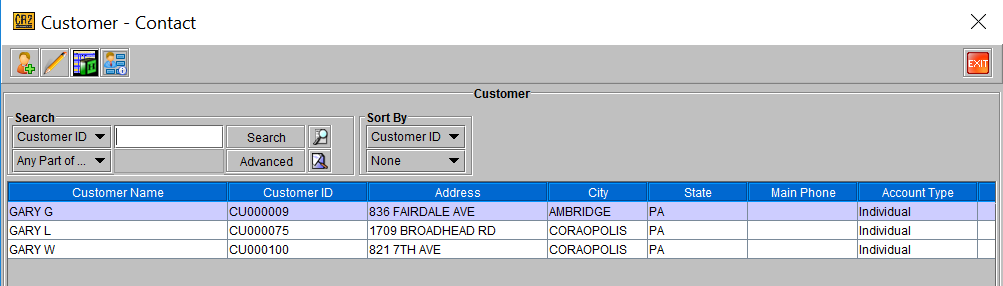
If the customer has more than one contact, R2 will show the Company Search screen. Double-click on the row to select the customer and contact. The contact row you double-click on becomes the order’s “main contact.”
Creating a Quote/ Reservation
A QUOTE is a document that conveys, among other things, items and pricing to your customer. A quote in R2 does not check or hold the inventory on the order.
A RESERVATION is a firm order, and differs from a quote in two major ways:
A reservation holds the inventory that is added to it. The items and quantity on a reservation are guaranteed to be available during the date range they are booked for;
A reservation is a firm order, and therefore creates tasks for the warehouse department to perform based on the dates entered in the order. This is the only status that the warehouse can know that an order is in process; Quotes do not appear to the warehouse department.
To create a new quote, click on the Quote icon 
To start a new Reservation, click on the Reservation icon  instead.
The Order Information screen will open:
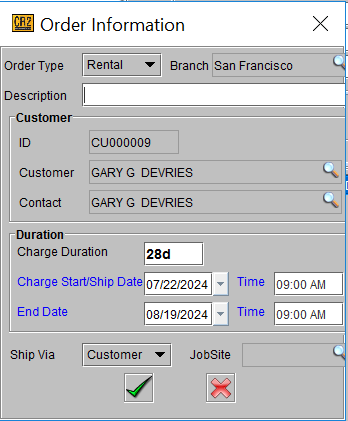
Enter a Description for the order.
Enter the number of days the customer will be charged in the Duration field. R2 uses abbreviations for periods of time: d = days, w = week, m = month. For example: 3d = 3 days.
Set the Charge Start/Ship Date and Return Date. Changing these dates will automatically change the Duration field value, accordingly.
Click on the OK button to proceed to the order.
Setting Order Information
Identify yourself and your team by using the Sales Person.
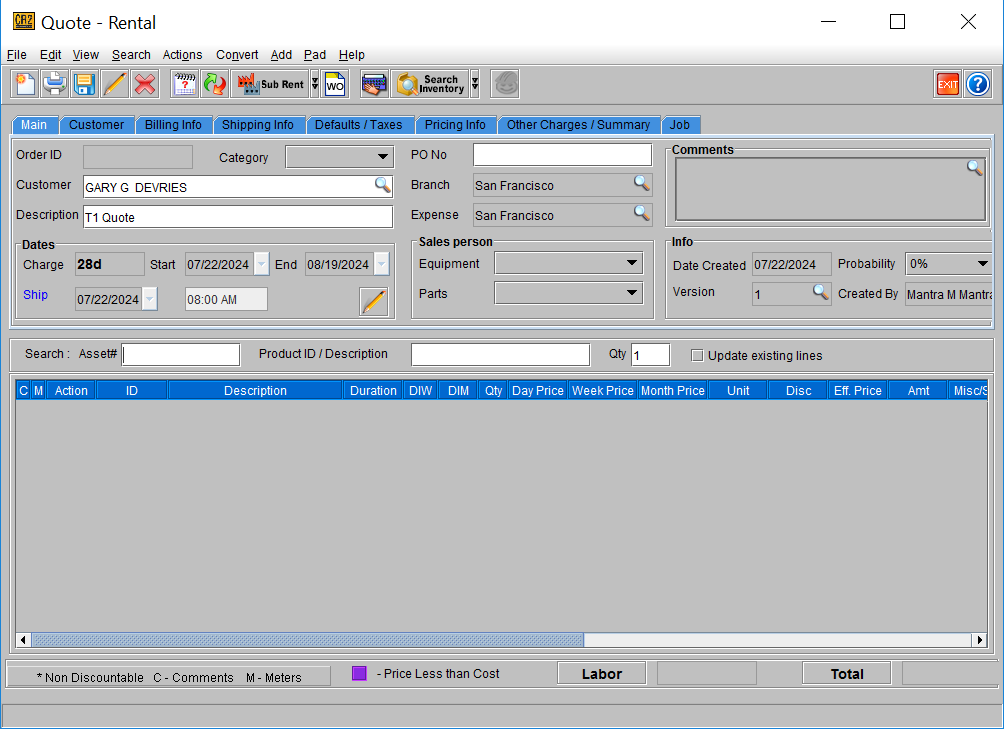
Select Shipping Location
Click on the Shipping tab.
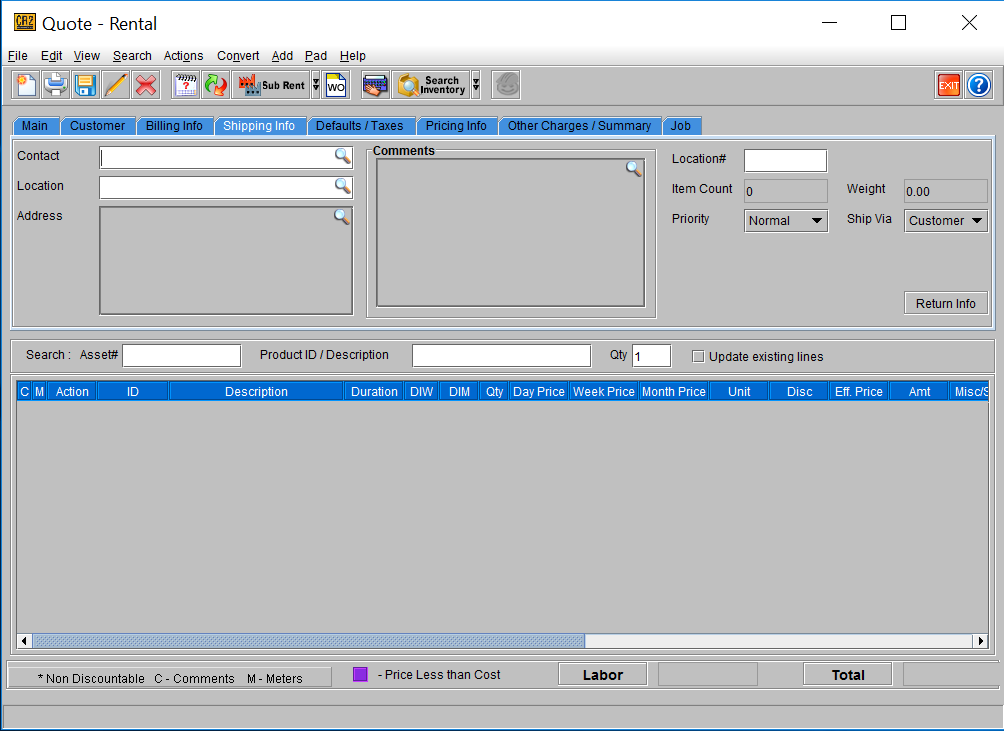
Click on the magnifying glass next to the Location field to select or enter a pre-defined location/address to the order,
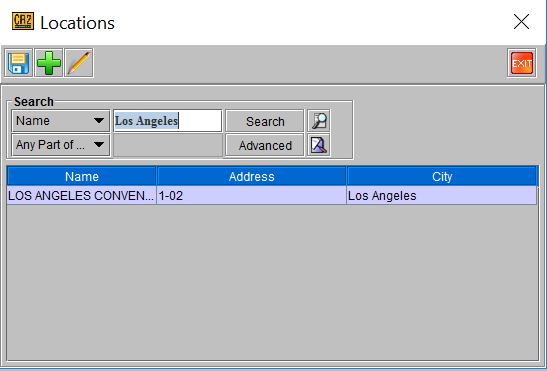
Click on Add to create a new Location or double-click on the location name to select it to the order:
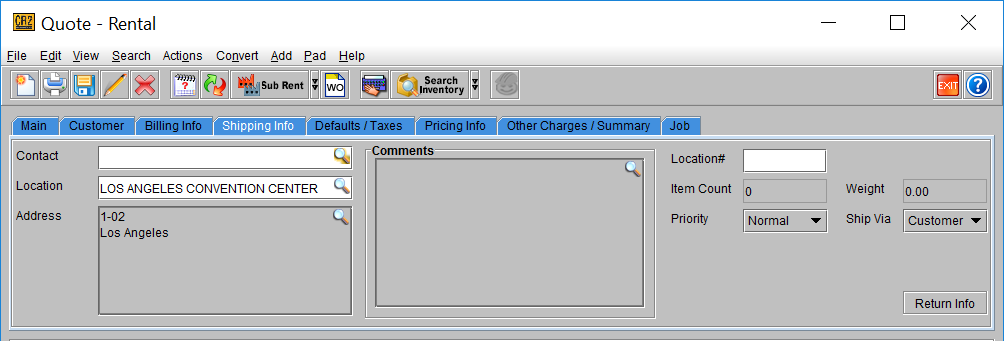
Or
Click on the magnifying glass next to the Address field to enter an address without a location name:
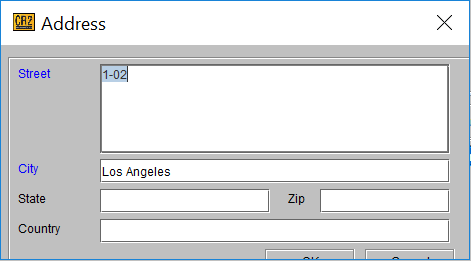
Select the Ship Via.
Select or type a Shipping Contact name.
Enter comments for the warehouse.
Adding Items
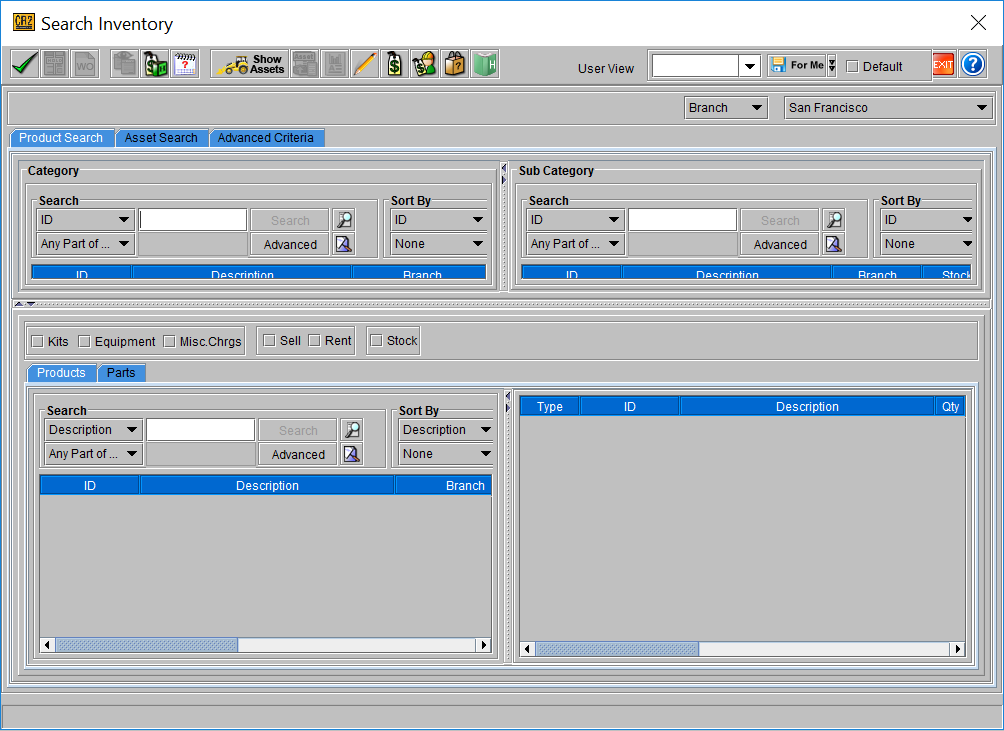
Click on the Search Inventory icon 
To find items, click on a Category, then click on one of the Sub Categories that appear.
To select an item, double-click on, or enter a number in the QTY field of each line item you want for the order:
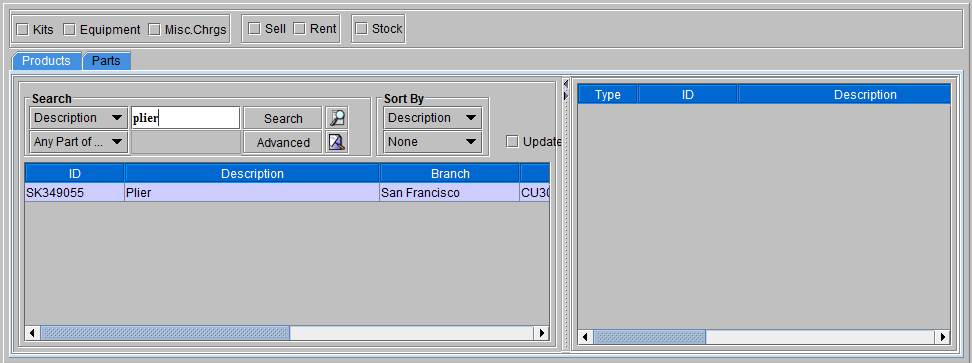
An alternate method of searching for your inventory is directly by its Product ID (SKU) or Description. To do this, skip the Category and Sub Category and use the search directly in the Inventory area of the screen:
IMPORTANT INFO
Also search for Kits and Misc. Charges using the Inventory Search.
A wild card search can be performed by using a % symbol.
To add these items to your order, click on the Select icon  .
.
To discard your selections and return to the order, click on the Exit icon  .
.
Adding Labor
To add labor positions to an order, click on View → Labor.
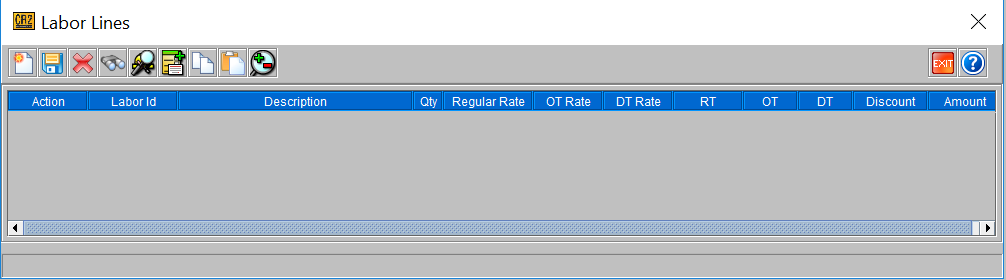
Use the search to find labor positions and then tag them (double-click on each):
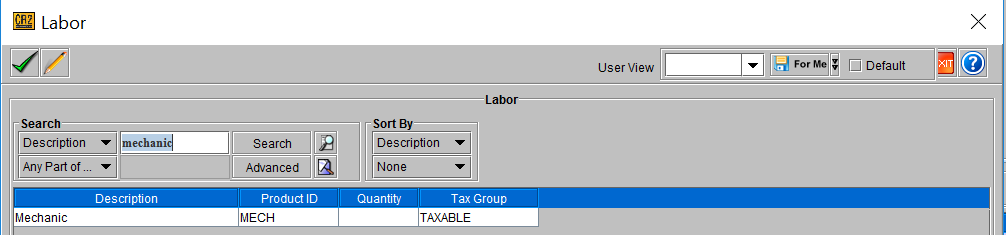
Instead of double clicking on the line, enter the quantity required in the Quantity column. The line will automatically be tagged.
Click on the Select icon to add the labor positions to the order.
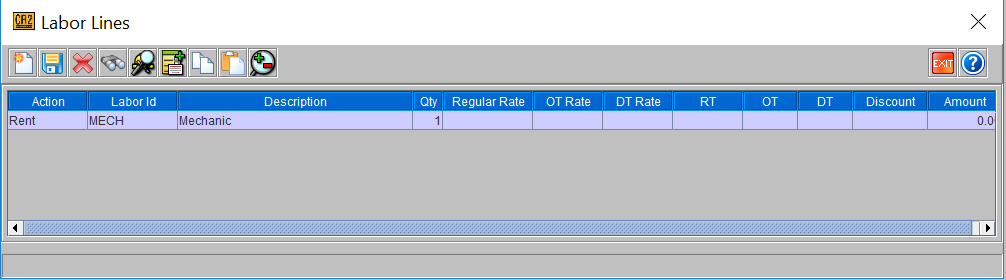
Once added to the order, you can change:
Regular Rate This is the amount you charge per hour, day, etc. Define how much you are charging your customer for each unit.
OT Rate / DT Rate Over Time and Double Time rates per hour. Type the hourly overtime or double-time rate for each position.
RT/OT/DT These fields correspond to the rate quantity they are named after. For example, RT means Regular Time, and is the number of hours you are charging at the regular rate.
Qty. Use the quantity to define the number of personnel you require for each labor position.
Setting Quantity, Price, and Discount
Once items have been added to the order, ensure the quantity and pricing is correct. Item quantity and pricing can be accessed directly on each item row.

The Quantity for each item can be changed for each item.
And the Unit Price can be edited as the customer order requires.
The Duration of each item can also be changed so that it is different from the order duration.
Discounts can also be added directly to an item or labor line by typing the percentage into the Discount field. These are called Line Discounts because they only apply to the item line.
A discount can also be applied to all items and labor on an order. Called Order Discounts, to add one, click on the Other Charges/Summary tab:
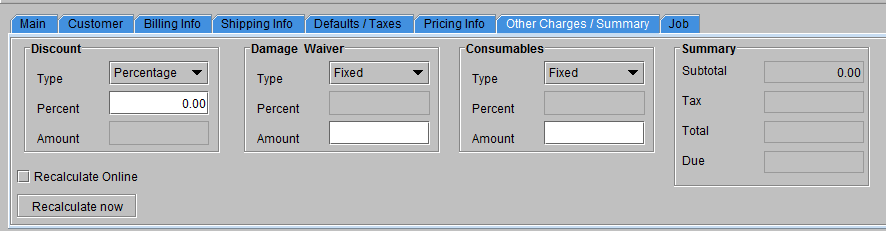
Change the Type to Percentage (displayed above) to give a percentage discount to the entire order.
Or change the Type to Fixed and enter a fixed amount to discount the order by:
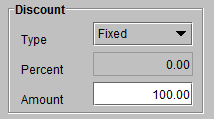

Note: only items and labor with an allowable discount will be discounted. Non-discountable or restricted discount items will be discounted accordingly.
PRINTING & EMAILING THE ORDER
Print the quote for your review or e-mail the quote directly to your customer.
Click on the Print icon  .
.
Click on the menu next to Form to select the form type (Quote, Reservation, Contract, etc.)
Choose to Preview the document on-screen in Microsoft Word or Adobe Acrobat.
Click the Email checkbox to view the entire right side of this window. Enter CC or BCC e-mails and click on the Print icon .
Enter an email address into the TO, CC or BCC fields*. Multiple emails are separated by a comma.
Customize the Subject and Message as desired or leave the default message**.
Email addresses can be pre-defined to be sent to various order/customer contacts.
** Default email messages can be customized.
For help in either of these tasks, ask your project manager or see the documentation for the same.