
Accessing the Invoicing Window
Click on the Start menu.
Select Programs > Mantra > Launch Pad.
The Log In dialog will appear.
Enter your User Name and Password.
Click OK.
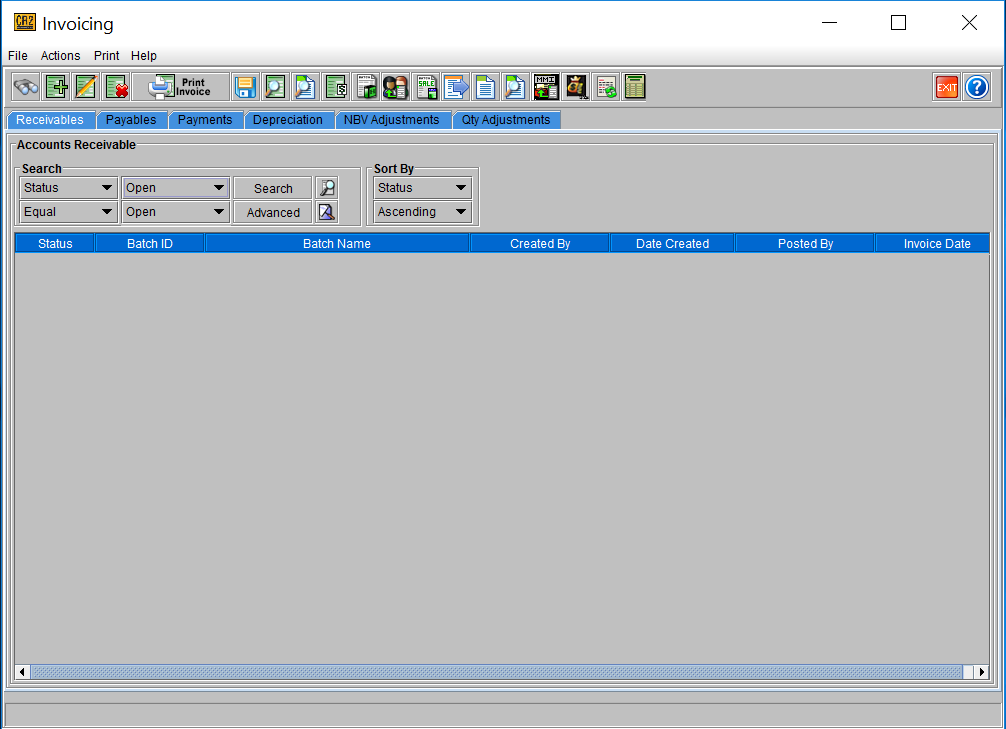
Select Invoicing
The Invoicing window will appear.
Invoicing Process Overview
Account
Mark Sign Off order as Done.
Invoicing
Create a new Batch.
Print Edit List (i.e. print batch)
Post Invoices (includes Printing and/or Exporting to A/R).
Bill Customer.
Creating a Batch
After marking Sign Offs as Done within the Account module, you will be ready to prepare invoices for billing purposes. The first step is to create a new batch, then add invoiced orders to the batch. You will spend most of your time working with Batches in the Invoice Batch window.
Overview
Begin a new batch.
Add invoiced orders to the Batch.
Remove or Edit any invoices known to be incorrect.
To begin a new invoice batch
Complete the order process in Account.
Complete the Sign Off process for orders in the Account module.
Access the Invoicing window.
Refer to To access the Invoicing window, page 4-2, if necessary.
Click on New
The Invoice Batch window appears.
NOTE: If you have been working within Invoicing prior to starting a new batch, verify that the Receivables tab, and not Payables, Payments or Depreciation, is selected at the left.
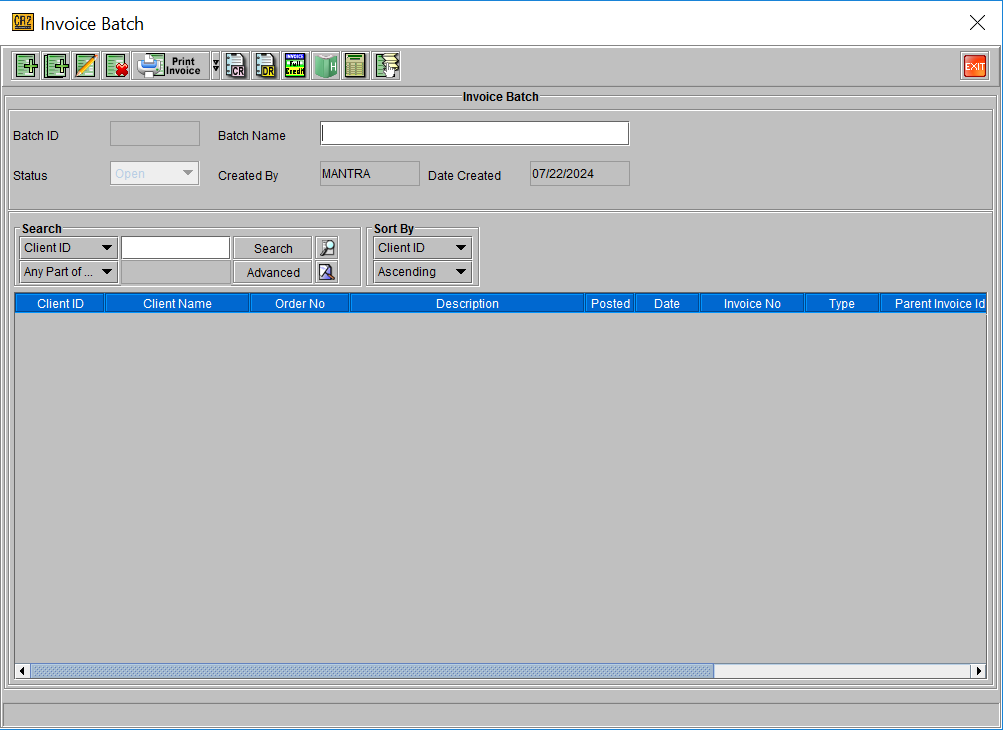
Enter a Batch Name in the upper right. Add invoiced orders to the batch.
See To add invoiced orders to a batch. Skip this step if you simply wish to create a batch record, without selecting invoices at this time.
Press <Enter> or click on the Close button to save and exit.
A Batch ID, Status, Created By (your user name) and Date Created (the current system date) will be inserted automatically. These fields can not be edited from this window.
TO ADD INVOICED ORDERS TO A BATCH
Begin a new invoice batch, or open an existing batch. Click on Add Invoices or Add All.
Add Invoices opens the Invoice List dialog where you can tag the invoices you wish to include in the batch.
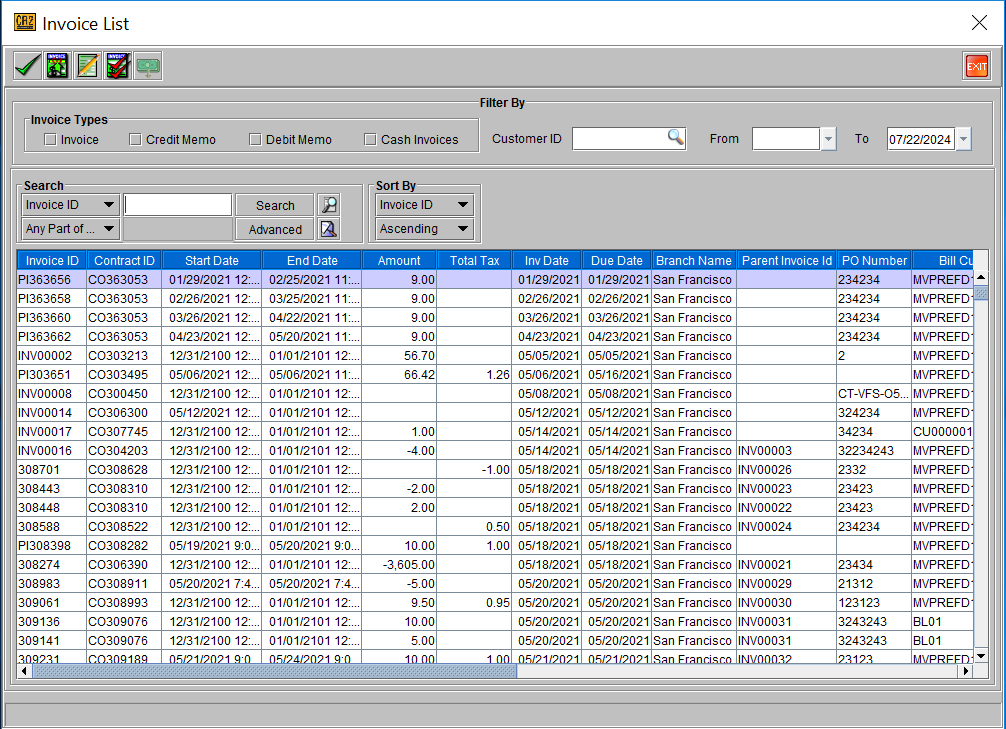
Add All simply places all orders ready for Invoicing in this Batch. You can then delete invoices as necessary.